Migrating a Domain to Amazon Route53
Amazon Route53 is a highly available and scalable DNS service. Route53 provides Domain Registrations and Transfers, DNS service to route traffic to the infrastructure (either within AWS or non-AWS), advanced routing policies like weighted and geo, and health check services that can be leveraged to perform traffic routing to different destination in the event of a failure. It provides more flexibility and seamless integration with AWS Services than any other DNS host can.
One of the most common scenarios is the need to send traffic from a site registered at non-Route53 providers to an ELB, which Route53 supports via an Alias Record.
In this post we will discuss moving the DNS - where requests to a domain hosted on a non-Route53 provider would resolve to Route53, and then point to an ELB which could be hosting a web property. However, the destination does not have to be an ELB, it can be any public IP. The other part is that of the Domain Registration itself, which can be transferred to Route53 if needed.
Always move DNS before transferring the domain registration to avoid any outage during the transition.
We will use a GoDaddy registered domain, which needs to resolve to an ELB which is fronting a Web Application.
If your provider is different, then these steps may not match 1:1 but will be similar.
-
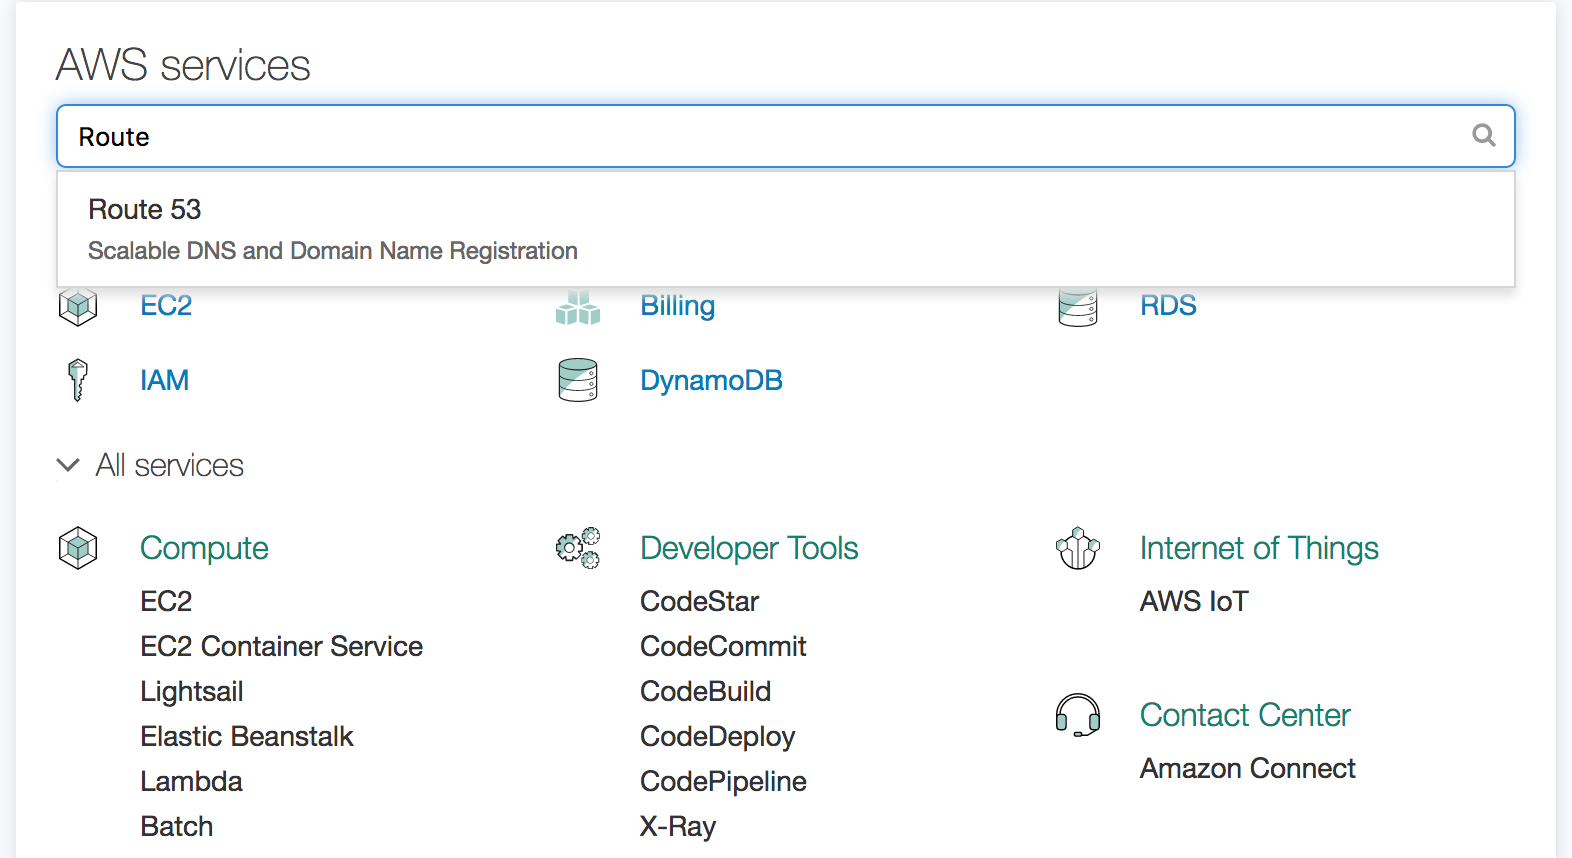
Log in to the AWS Console, and search for Route53 on the landing page. Click the service name.
-
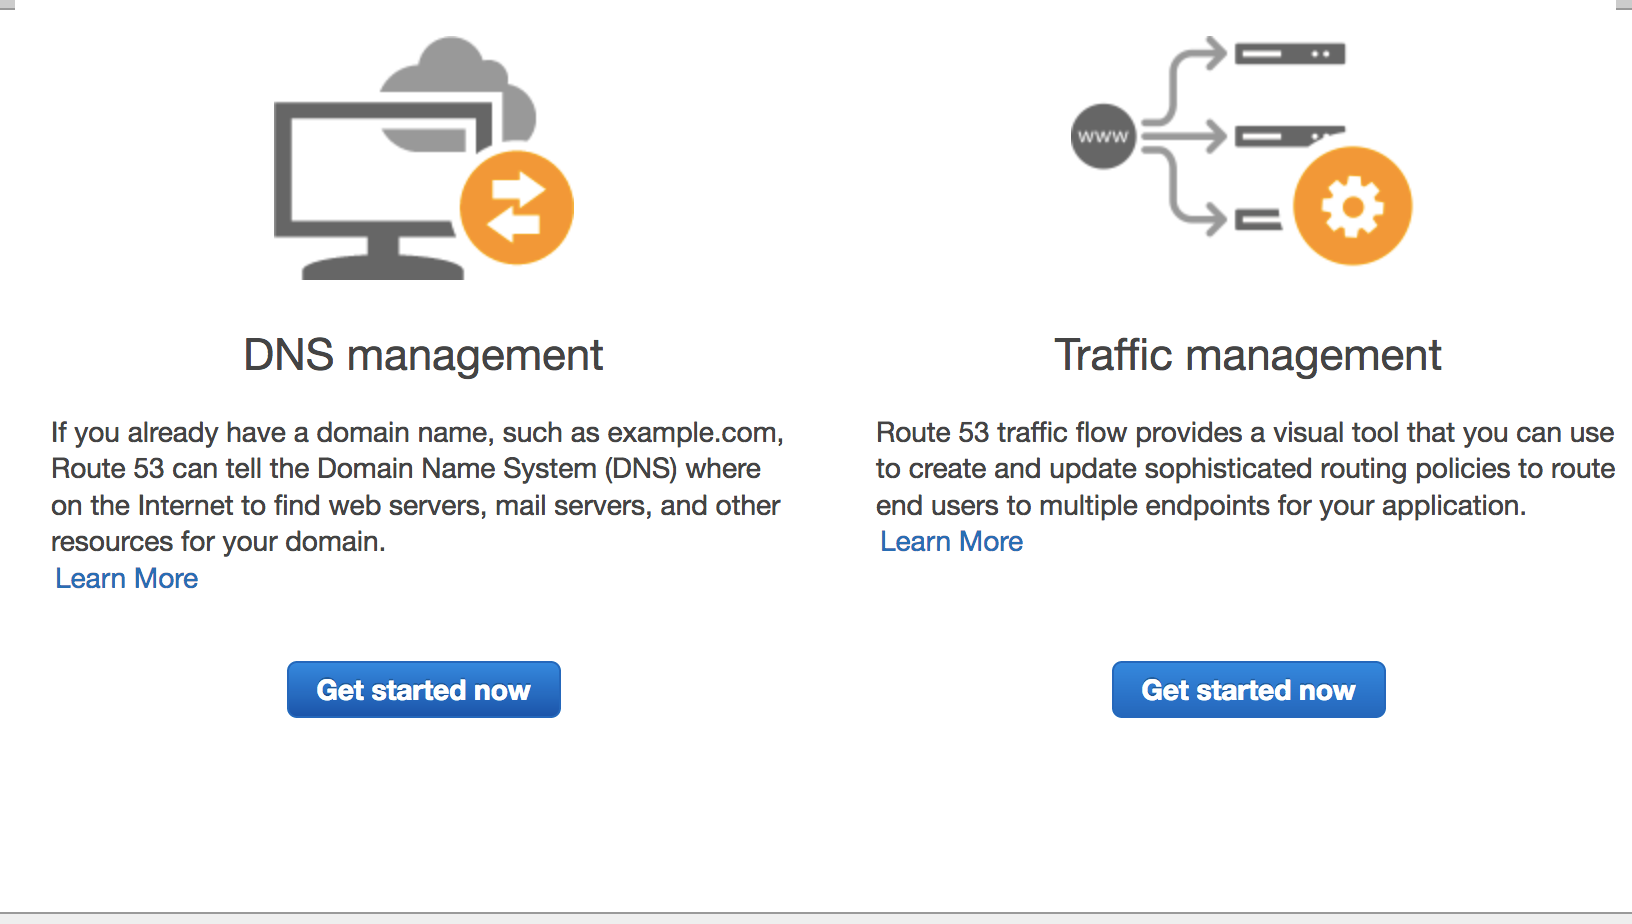
Click the Get Started Now under the DNS Management section.
-
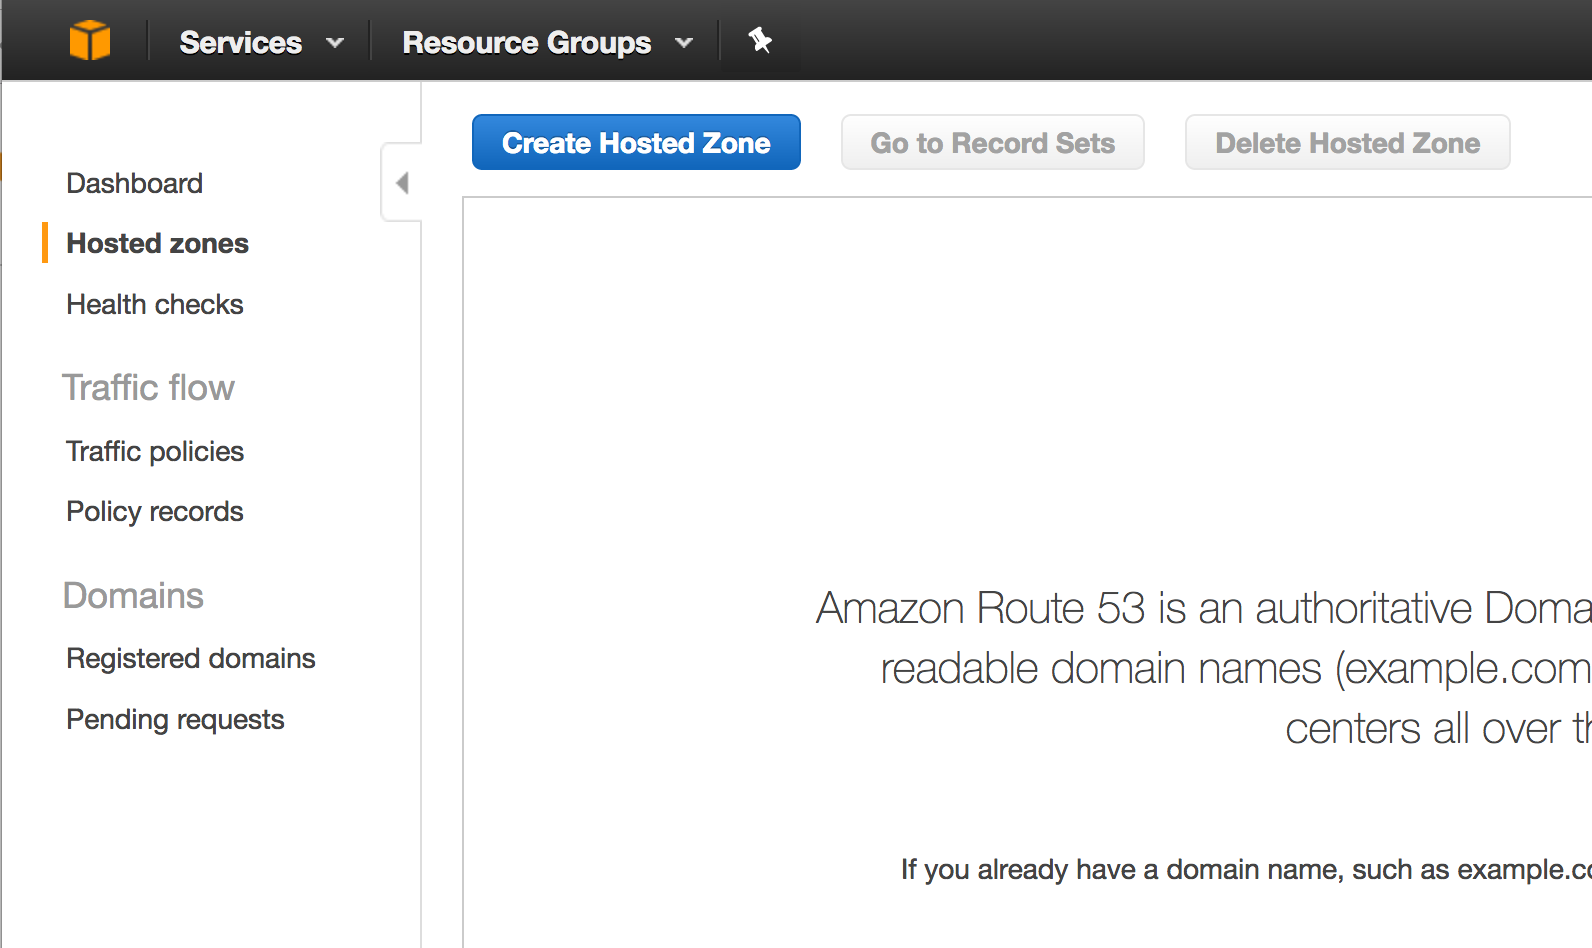
Click the Create Hosted Zone Button.
-
A form will show up in the right panel. Enter your domain name (skip the
www), and an optional description. Keep thePublic Hosted Zoneselected. Click Create.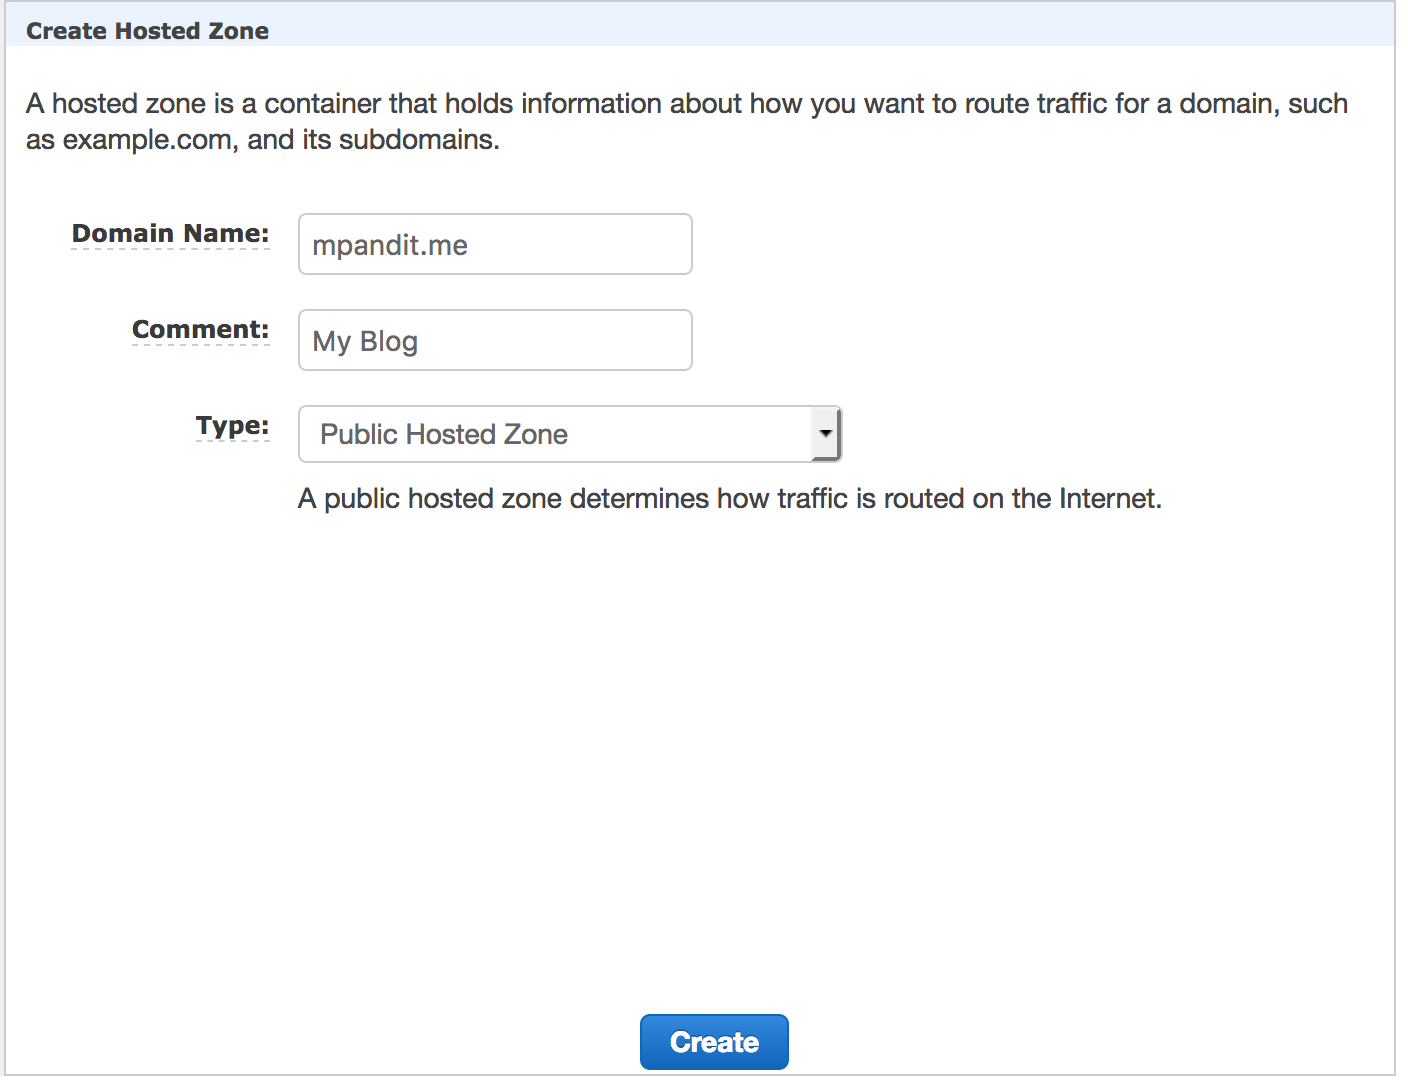
-
Once done, you will see the zone details, with only an
NSrecord set and aSOArecord set.NShas a list of name servers, andSOAis theStart of Authorityrecord, which at a minimum contains the primary name server host name. You will notice this is usually the first name server address from theNSrecord record set. You can read more information on various DNS record set types here.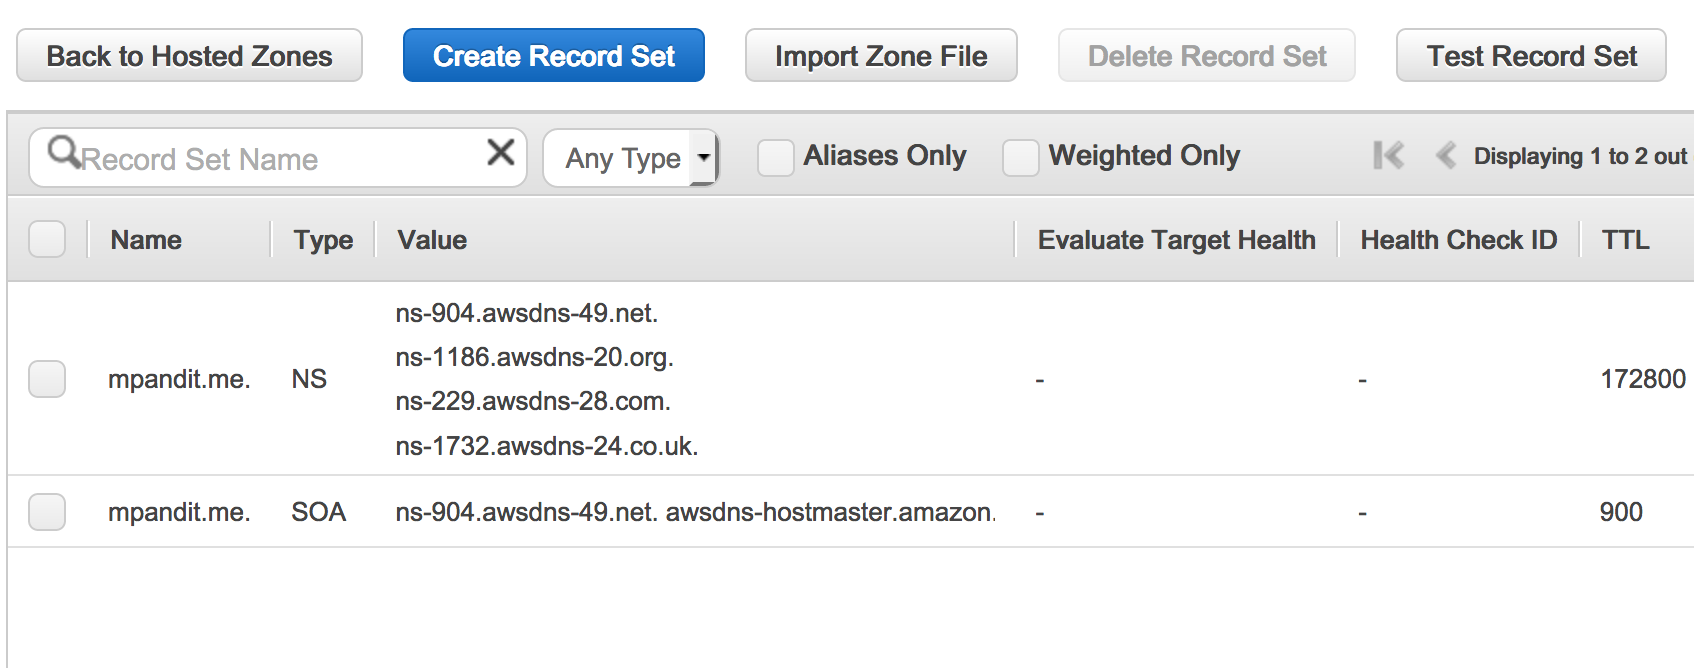
-
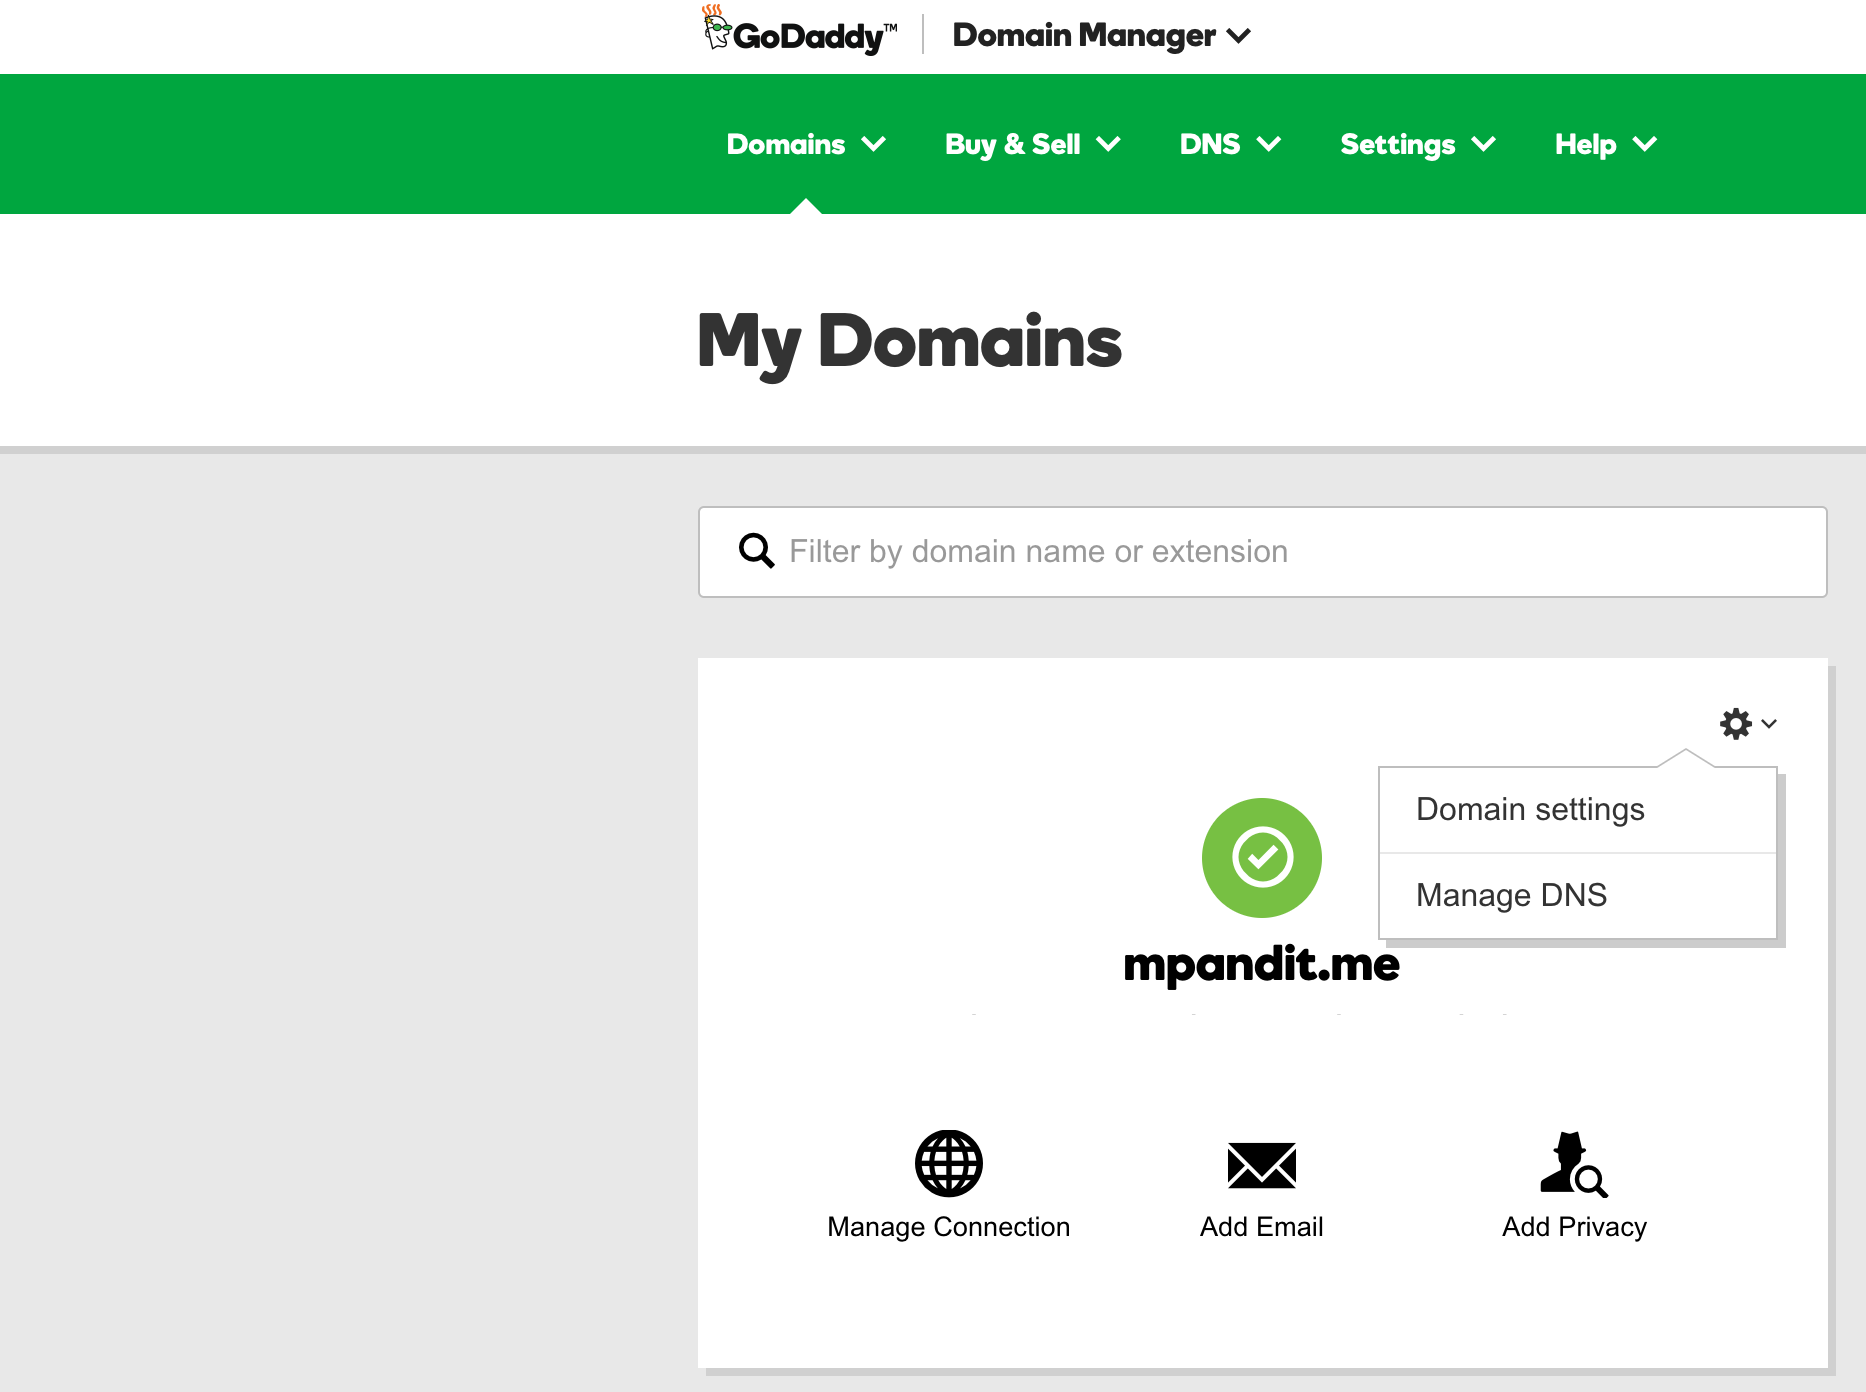
Next, we need to add our record sets from GoDaddy to this hosted zone. To do this, we login to GoDaddy, click on Manage DNS under the Domain being moved.
-
Scroll all the way down and notice a section called Advanced Features. Click the link that says Export Zone File (Unix).

-
Notice a file
your_domain_name.txtthat has been downloaded. Open that file in any text editor of your choice. -
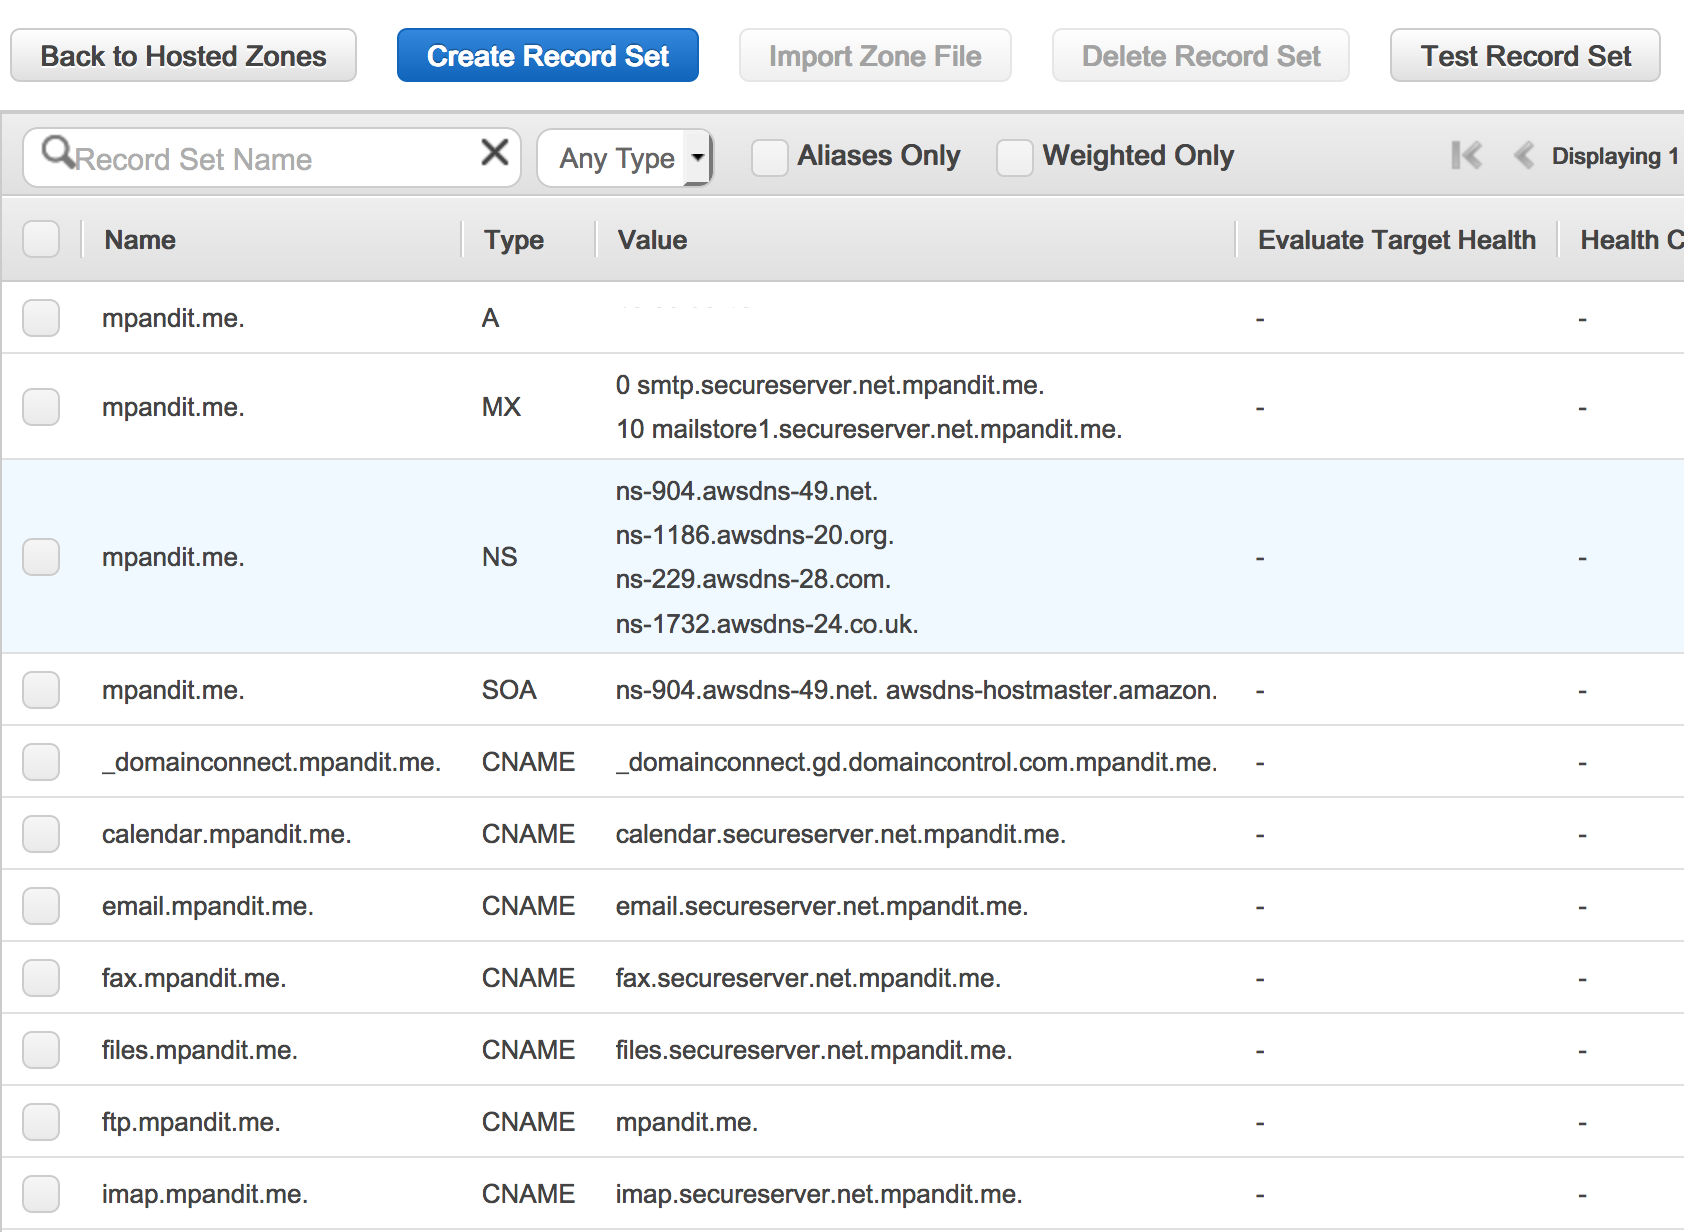
Now come back to the Route 53 page with the Hosted Zone, and click Import Zone File at the top. A form will open up on the right. Copy and paste the contents of the
your_domain_name.txtfile in this section, and click Import button. -
Click refresh at the top right or just refresh your browser and you’ll notice a much bigger list of record sets in the hosted domain. These have been imported from the GoDaddy Zone File.
-
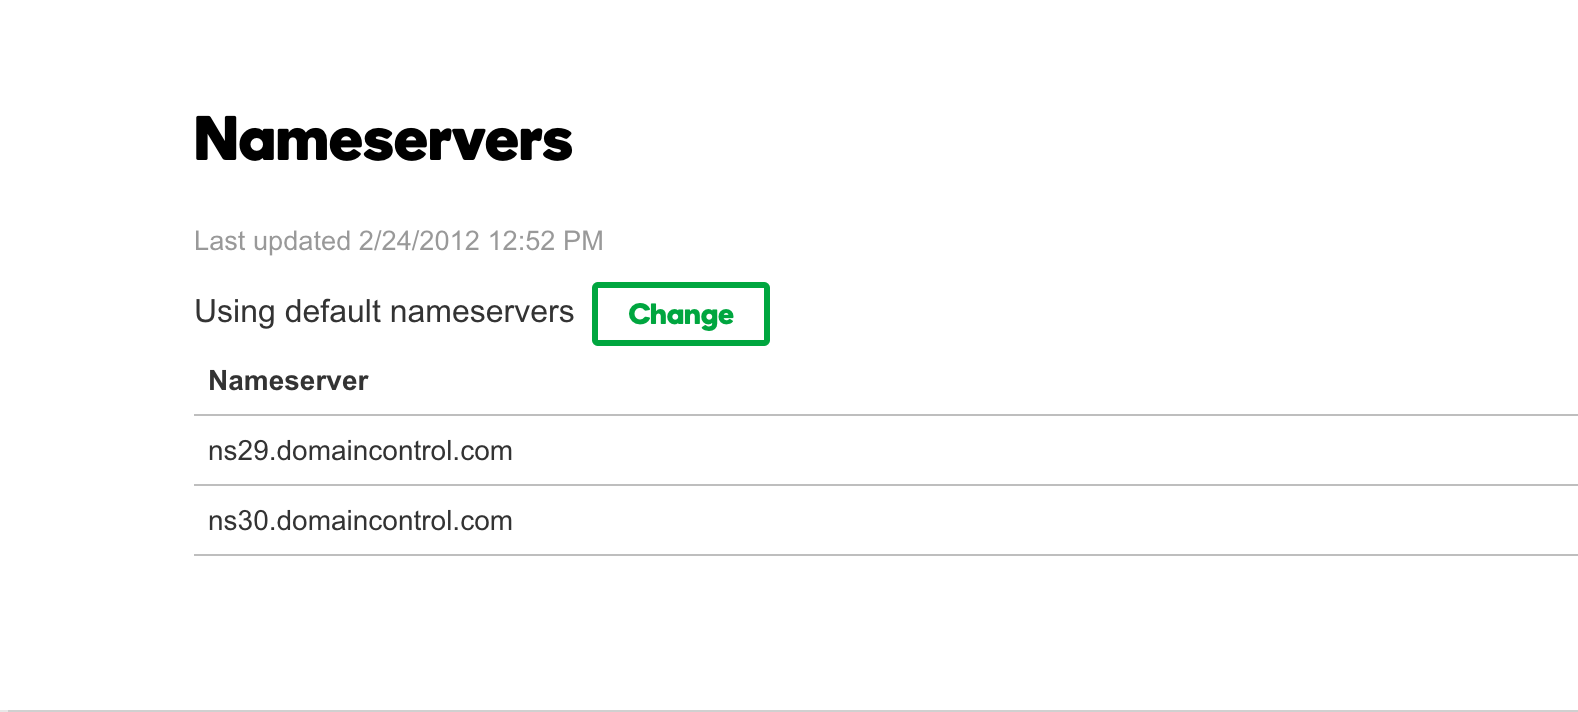
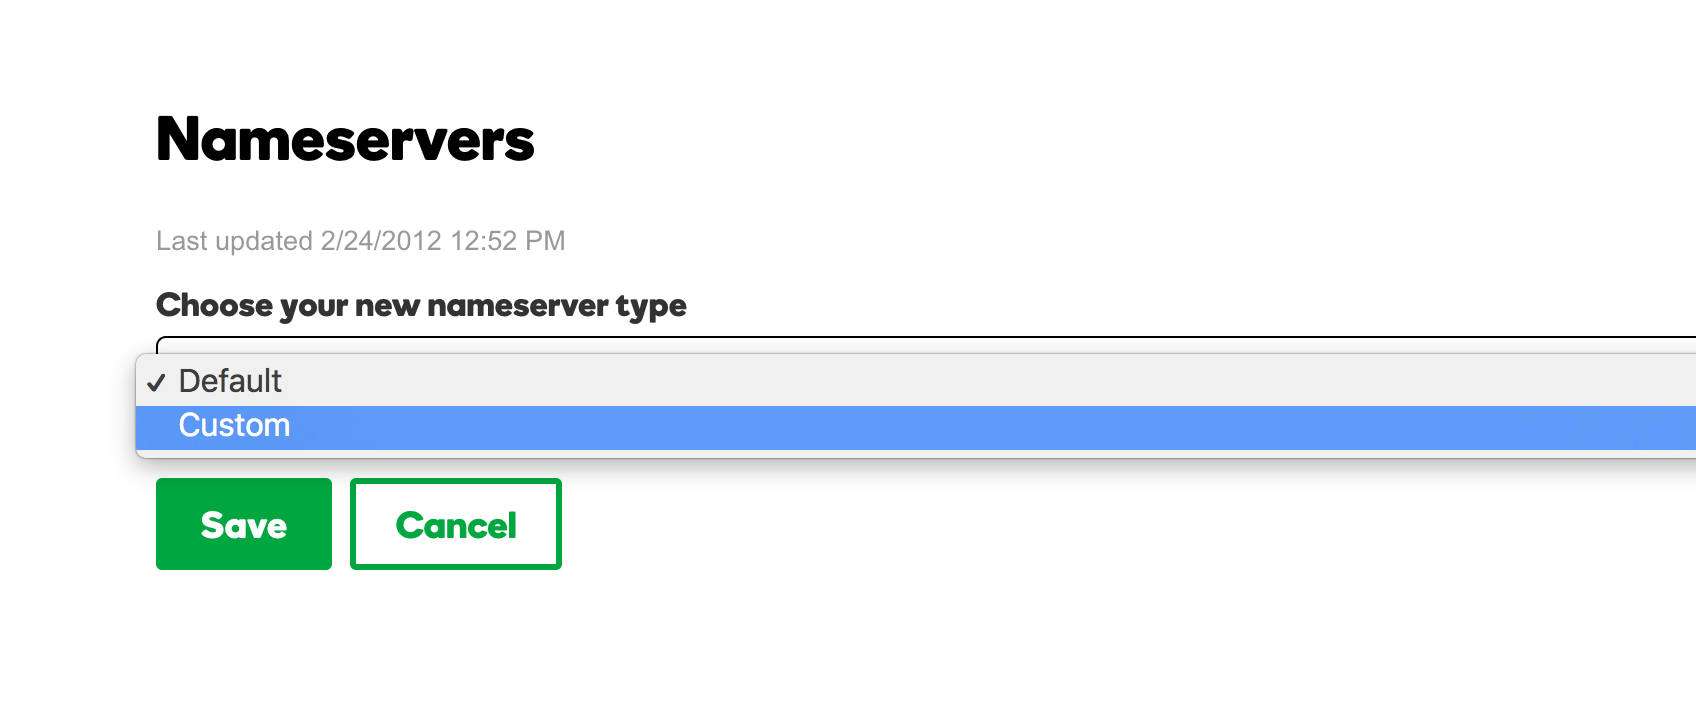
Now, we just need to point the Name Servers listed in GoDaddy for our Domain to Amazon’s. To do this, go to GoDaddy, and just above Advanced Features, look for a section called Nameservers.
-
Click Change
-
Select Custom
-
Go back to Route 53, and Notice the NS type record in the Route53 recordset list.

-
Copy paste the name servers from the NS Type recordset one by one in the GoDaddy custom list. You will need to click Add Nameserver twice to add 2 more rows for a total of 4 Amazon Nameservers.
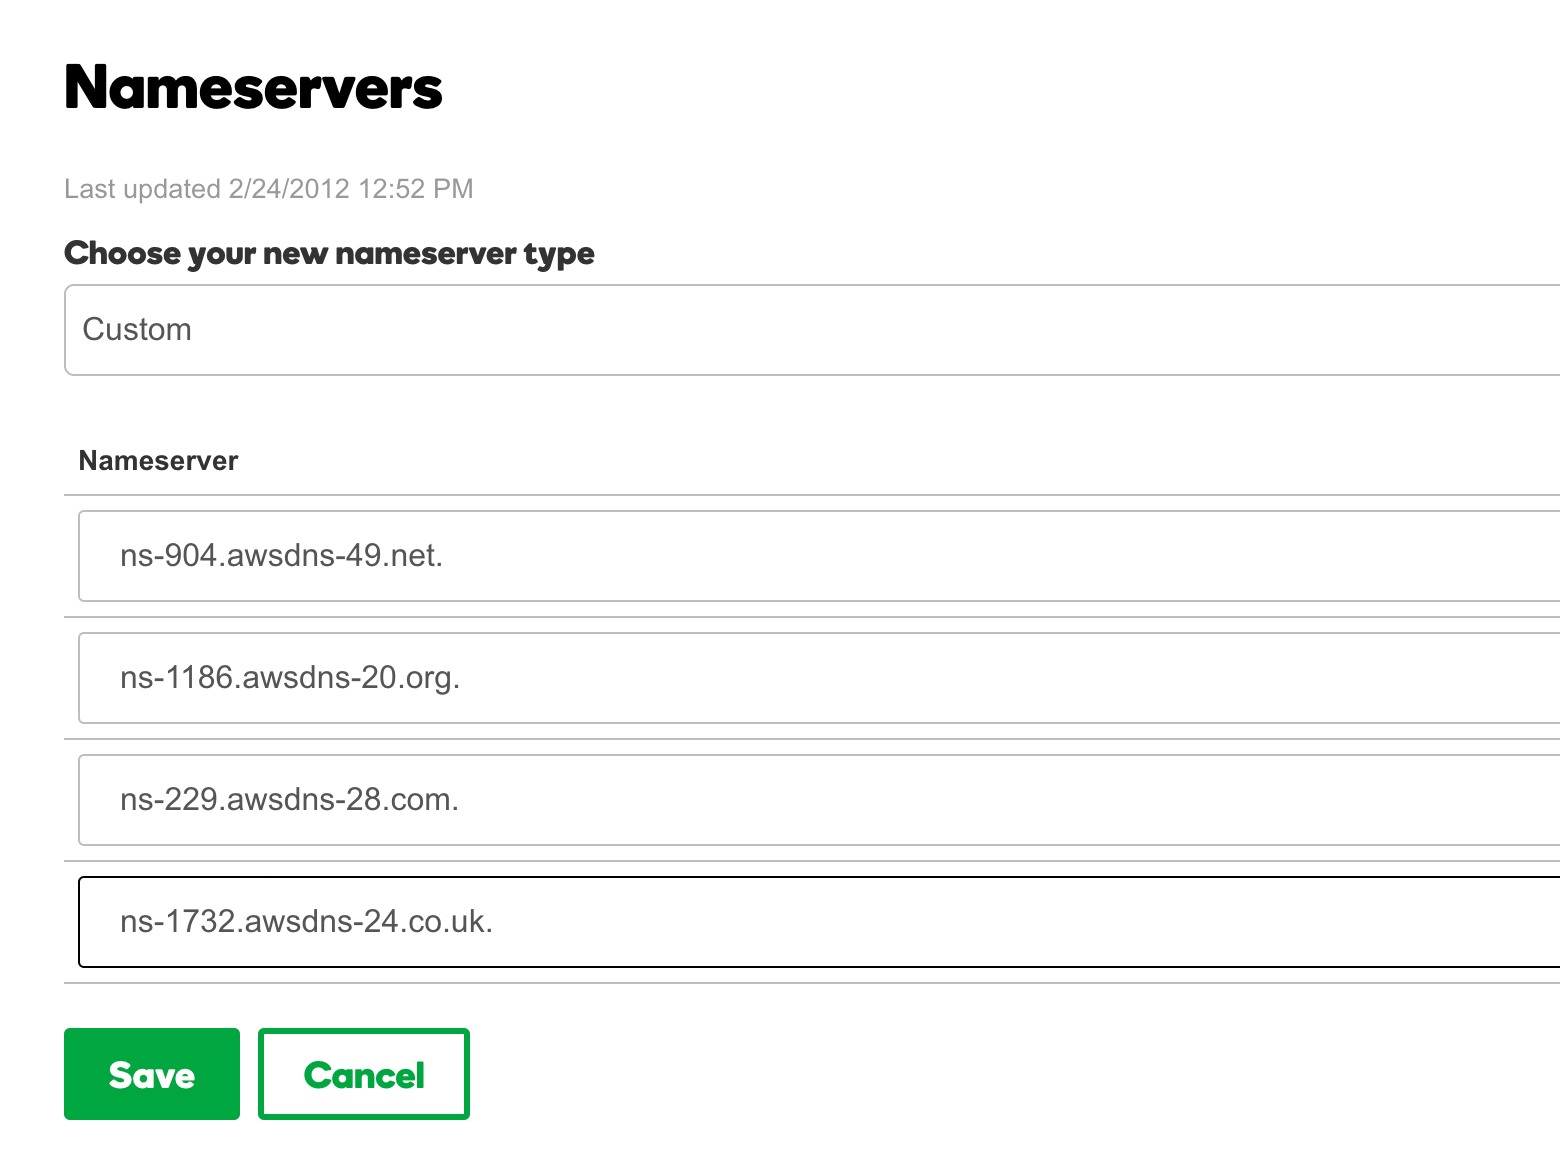 Click Save.
 -
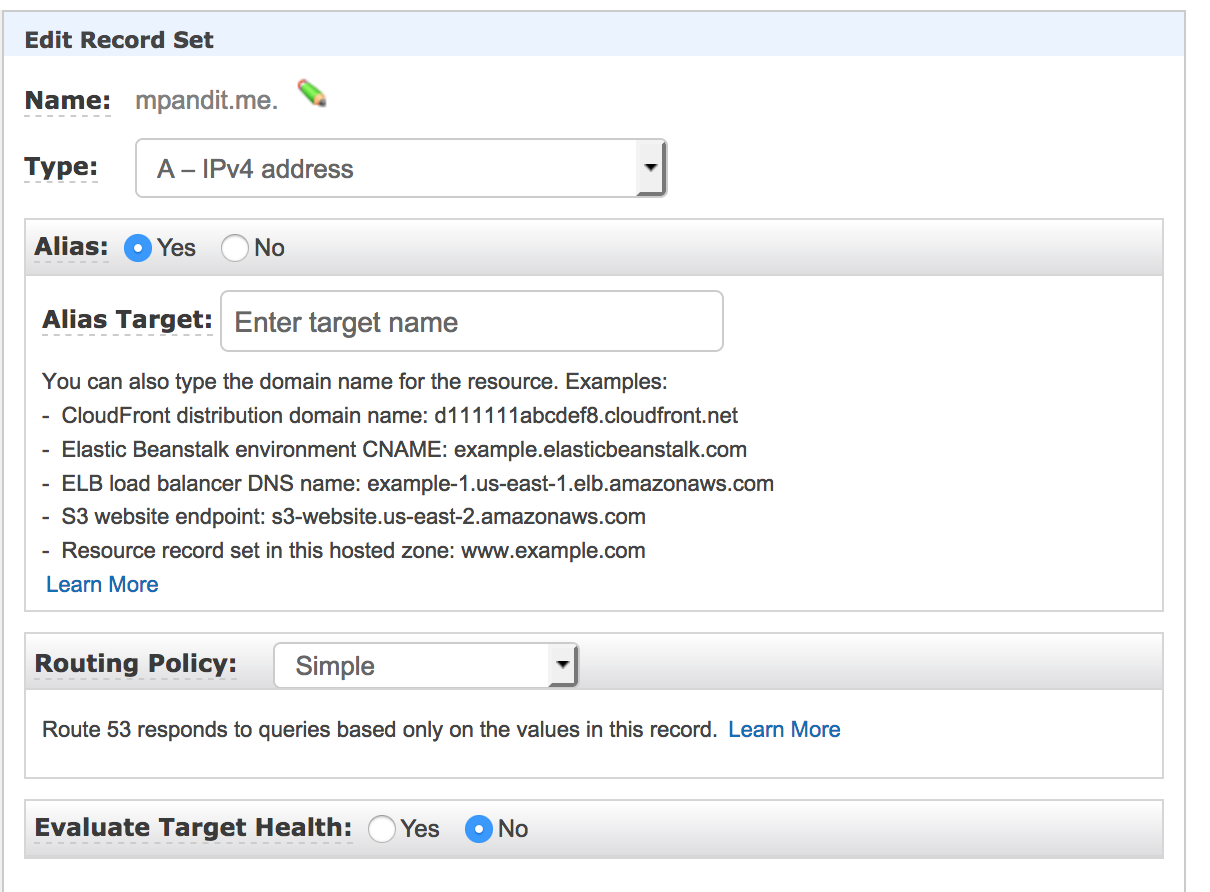
For ELB - Come back to the Route 53 page, and click the A Type. On the right side, it will show an IPv4 Address. If you wish to change that to an ELB DNS, check the box that says Yes for Alias, and enter your ELB’s DNS name (A Record) as the Alias Target. If there is no ELB, then the imported A type record should already have a public IP address of your site, and no changes are needed.
-
Give it a few minutes and keep verifying the name server change by using this excellent service by Pingdom. Enter your domain name, and if everything worked, you will notice the Amazon Nameservers show up under the Nameservers section on the test results page. If you still see Godaddy’s
*.domaincontrol.comthen give it a while and retry. -
Once you see the Amazon Nameservers in this test, You should be all set! You can now choose to transfer your domain ownership from GoDaddy to Route53, but that is entirely optional.
-
Pricing - You will pay 50 cents a month for the first 25 hosted zones, and 40 cents for a billion DNS queries a month. More advanced features (healthchecks, routing policies) carry extra configuration and costs.