Fish and iTerm2
So, out of boredom, I decided to upgrade my shell and terminal to something closer to 2017, instead of living in the early 90s. Clearly I’e been using bash all these years - mostly on Ubuntu and lately on OSX. But I’ve always been lazy and complacent with the terminal. I’ve always wanted to set up fish - Friendly Interactive SHell. for it’s git integration, and very rich interaction. Sure, all of this can be done on bash or zsh but I hate configuration, and combing hundreds of git repos for bashfiles and find what works for me.
While at fish, I also decided to upgrade the default Mac terminal to iTerm2. This led me to a journey through installing fonts all the way to picking up the theme that works for me. But again, no configuration to mess with.
Installing fish
Since I have brew, I was able to simply do this
bash-3.2$ brew install fish
If you do not have brew, head over to fishshell.com for instructions on setting it up. They have MacPorts, Installer, and an executable.
Once installed, the default theme supports git repositories, in that, the prompt indicates the local repository state, has nice syntax highlighting on the command line, and typical things you’d expect from the shell of the 21st century.

You can see the prompt change, as well as a timestamp show up to the right of the window.
If you wish to make fish your default shell, add add /usr/local/bin/fish at the very top of /etc/shells, and execute chsh -s /usr/local/bin/fish. If not, then you can always type fish in bash.
Installing omf
Given the richness of fish with themes and plugins, it’s best to use omf - Oh My Fish, which is more or less a package manager for fish.
To install omf -
bash-3.2$ curl -L https://get.oh-my.fish | fish
Once omf is installed, checking out themes etc. becomes a breeze. To do so, type omf on the prompt to see the options. Typing omf theme will show a big list, and in order to see what these themes look like, head over here to preview them.
I liked bobthefish, and installed it like so -
⋊> ~/work omf install bobthefish 05:04:17
Updating https://github.com/oh-my-fish/packages-main master... Done!
Installing package bobthefish
✔ bobthefish successfully installed.
~/work 773ms Sat Apr 8 05:07:06 2017
You can always switch back to default by typing omf theme default. You can install many themes and switch back and forth between them till you’re comfortable with one of them.
However, this theme (and many others) uses fonts that would need to be installed.
Installing Powerline Patched Fonts
~/work git clone https://github.com/powerline/fonts.git
~/work cd fonts
~/w/fonts master ./install.sh
Copying fonts...
Powerline fonts installed to /Users/mpandit/Library/Fonts
Feel free to remove the fonts directory.
Installing iTerm2
Downloaded and installed iTerm2, which is super simple to do.
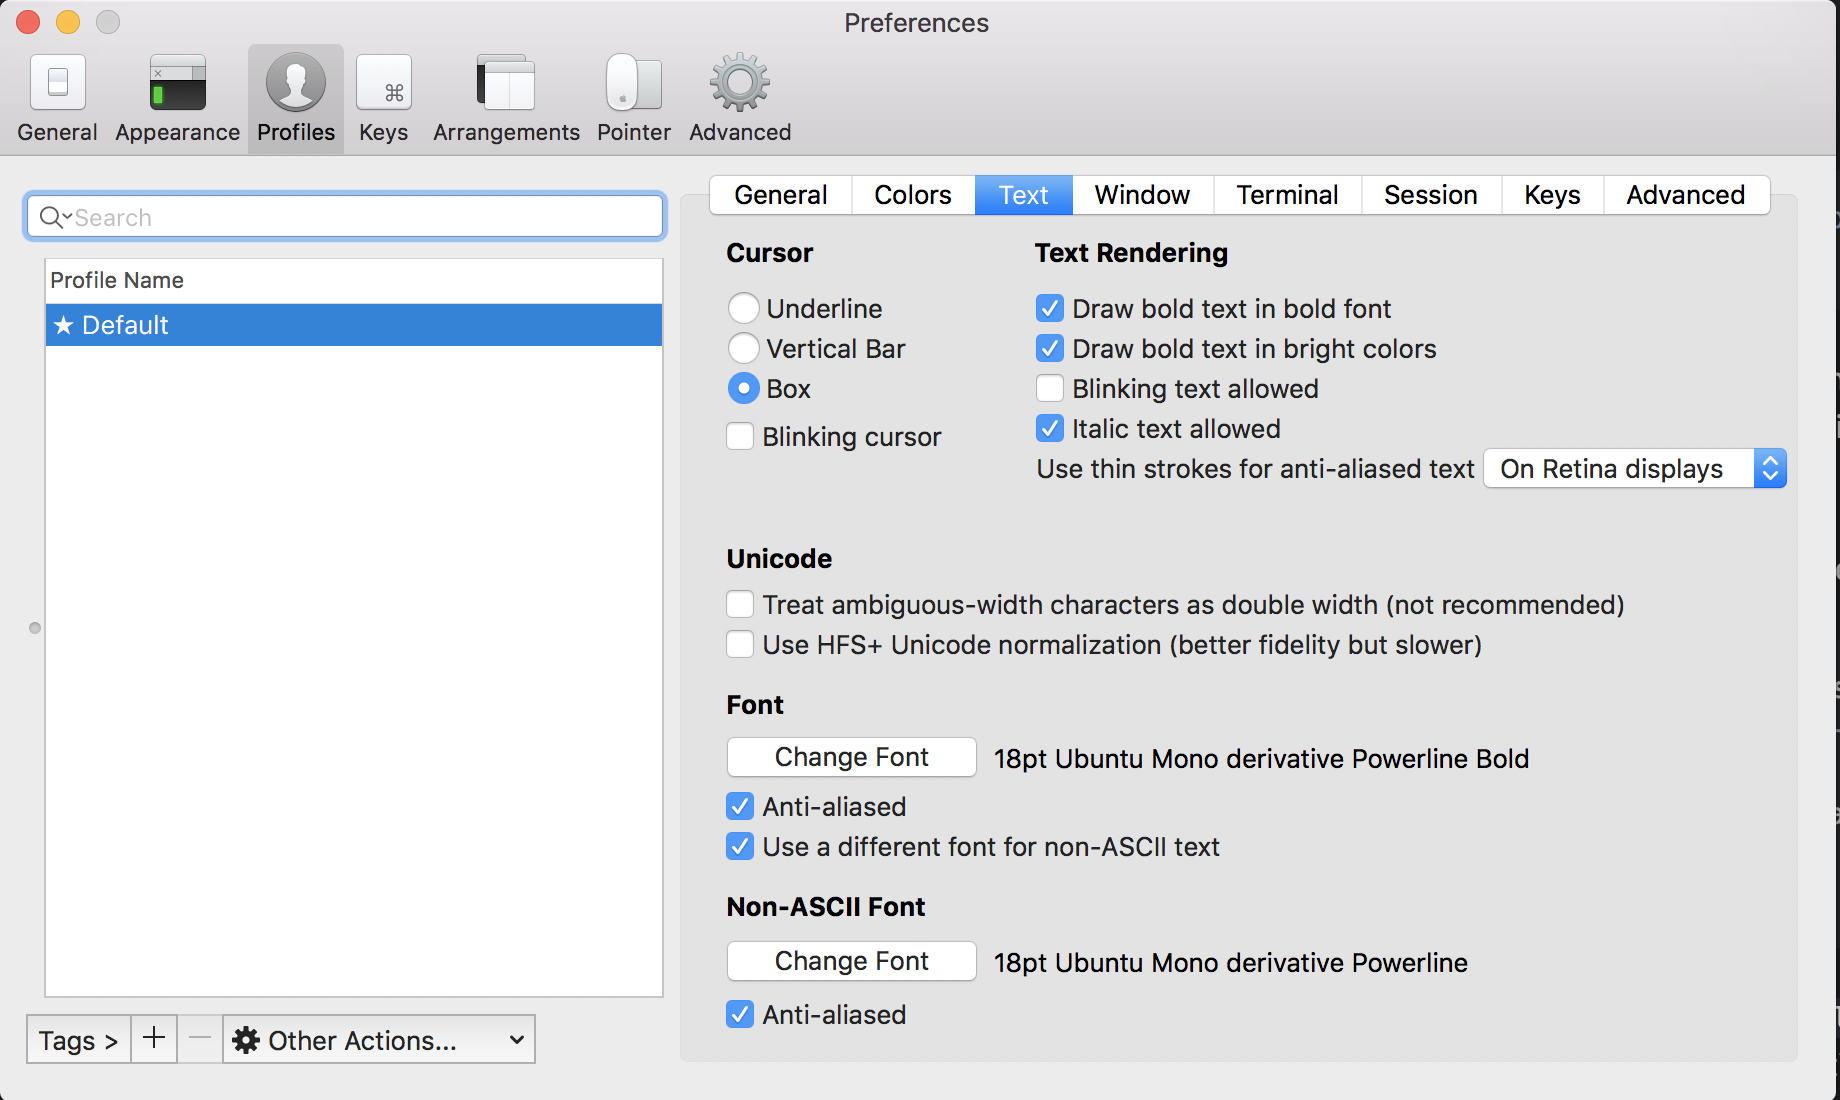
Take a look at the Font Book, and pick the powerline font of your choice. I like Ubuntu Mono. You can type powerline in the little search textbox in Font Book to shorten the list. Once picked, set the font here -
Restart iTerm2, and you should be all set!
Github integration
This image shows how the prompt changes as we make simple changes to a local git repo. I am using bobthefish theme. See the theme details on how the prompt indicates various states like locally committed but un-pushed changes, etc.

As you can see, it is super helpful, with no configuration to get this going. This to me is one of the most useful and powerful features of fish.
Now that you have fish and omf set up, play with the many options and if you have never used it before, you’ll be surprised how modern and developer friendly this set up is. The depth of autocomplete going beyond just file names, auto-suggestion, history navigation, and syntax coloring makes working on the terminal so much productive and painless!